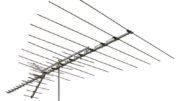
The Xtreme Signal HDB8X antenna from Solid Signal is a great combination of durability and performance. It’s the right antenna for you if you:
- Need an outdoor antenna for good reception
- Live more than 50 miles away from the broadcast towers
- Watch primarily UHF channels
- Live where there is no homeowner association or any rule against a larger antenna
- Are comfortable mounting an antenna on a mast
If that sounds like you, there’s no doubt you’ll enjoy great FREE HDTV by using this durable, economical antenna.
How do I know if I need only UHF channels?
A site like TVFool.com will help you figure out the actual broadcast channels you need. Remember, since the digital transition, broadcasters use the PSIP system to translate between actual channel numbers and the channel numbers you see. Anything over channel 12 is considered UHF.
Before you start:
Make sure that you review local ordinances for grounding and buy the grounding supplies you need. Also, make sure your ladder is safe and don’t go up on a roof or into an attic if there is any chance of electricity. Be safe!
Also, remember that all assembly should be done by hand. It should not be necessary to use tools to tighten anything more than hand tight (except in one case where a 10mm wrench is needed) and if you overtighten the nuts you may risk damage to the antenna.
This document is available in PDF format! Click here to download!
What’s in the box
Here’s what you should expect to see in the box:
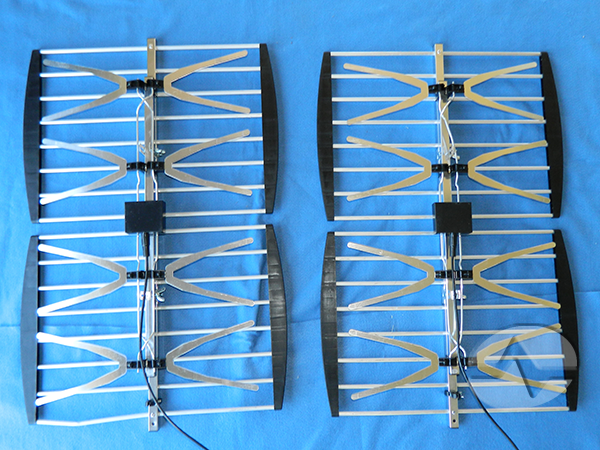
Two antenna assemblies.
Two articulating arms (may be partially assembled)
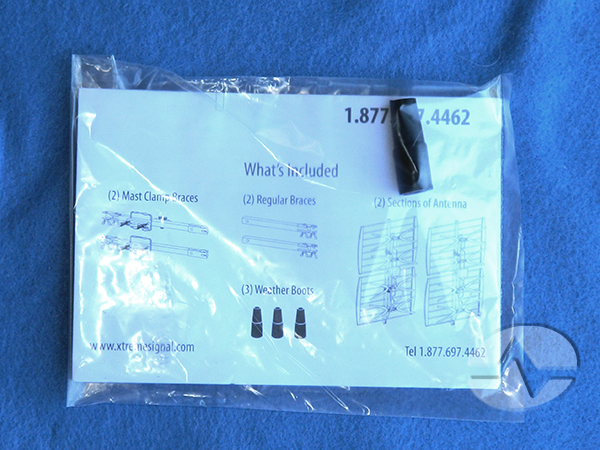
Instruction packet with one antenna boot (the other two should already be attached)
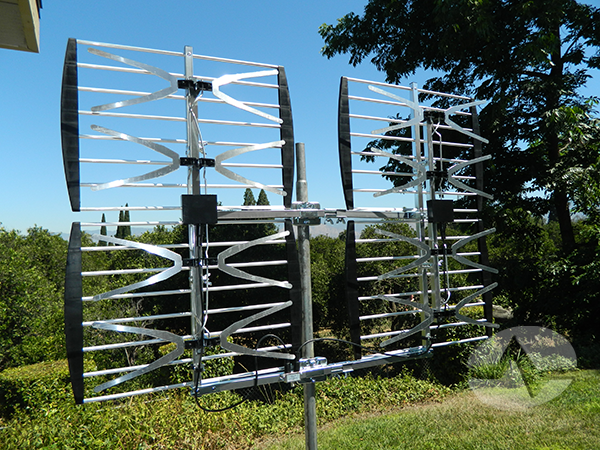
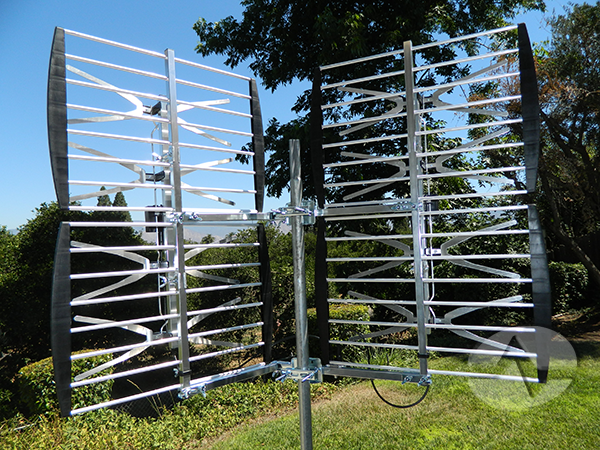
Putting together the main antenna assembly
The main antenna is almost completely assembled when you get it. All you need to do is separate the antennas (the x-shaped part) from the reflector (the bars with the plastic.)
Find the wingnuts roughly halfway between the outer edge of the main antenna and the center and loosen them slightly. Pull the antenna away from the reflector until it cannot go any further.
Tighten the wingnuts to keep the antenna separated from the reflector.
You will need to do this with both assemblies. There are two wingnuts on each assembly.
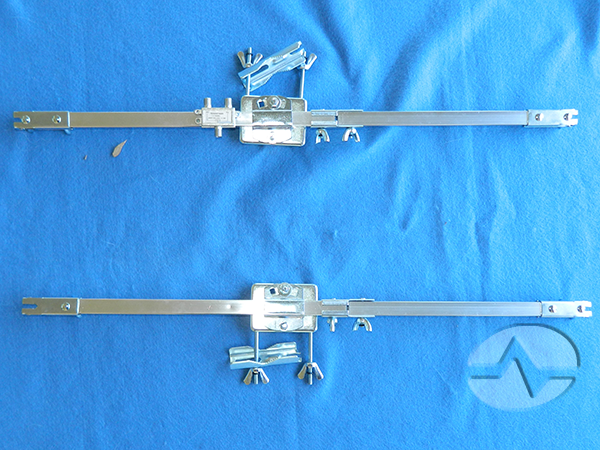
Assembling the articulating arms (if necessary)
The articulating arms should be completely assembled when you get them. However, if they come partially disassembled, follow these steps to completely assemble them.
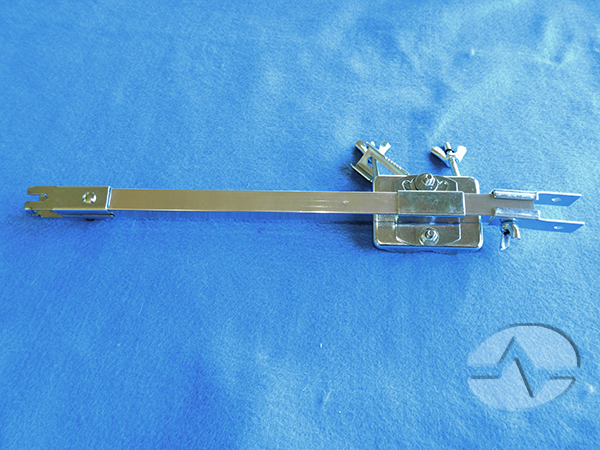
First remove one of the two wingnuts in the hinge. The hinge is the part closest to the center. In the photo above, it is on the right.
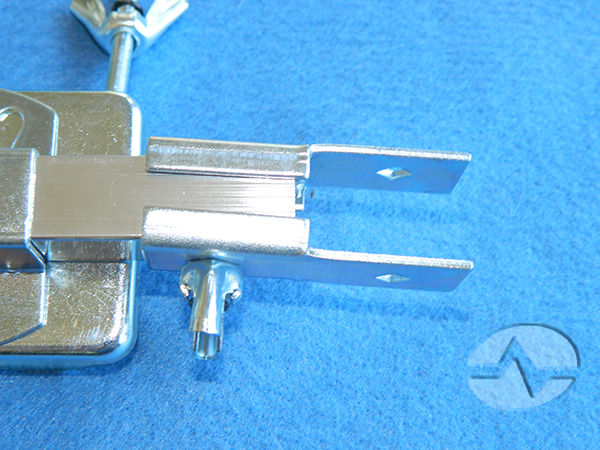
Then, loosen the other wingnut enough that you can place the other half of the arm into the hinge.
In the photo above, the left side of the arm goes into the hinge. Hint: when you have both arms in place, the wingnuts should be on the same side on both arms.
Put the bolt through the hinge and attach it with a wingnut and a rubber gasket. Make sure the hinge moves freely, then straigthen it out and tighten the wingnuts finger tight.
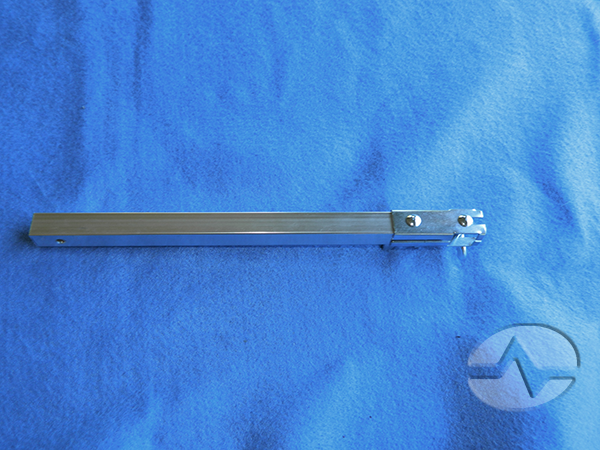
The final arms should look like this:
Note that all the wingnuts on the edges are facing down.
Attaching the arms to the antenna assemblies
Start by laying out the antenna assemblies and the arms. Lay the antenna assemblies upside down, so the black plastic boxes in the center of each assembly are facing down. Lay out each assembly so that the cables are toward the bottom.
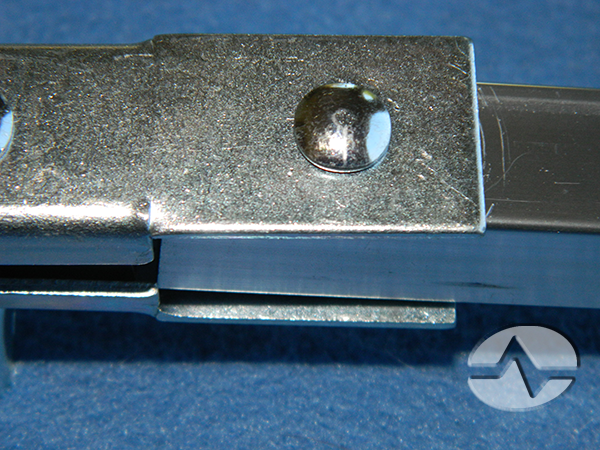
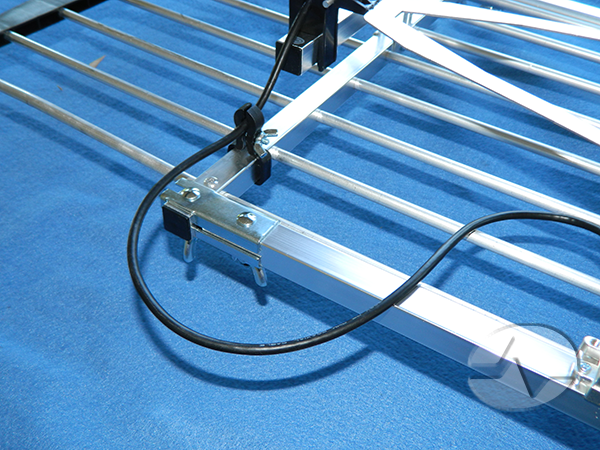
Then lay out each arm. One arm has a combiner as shown below:
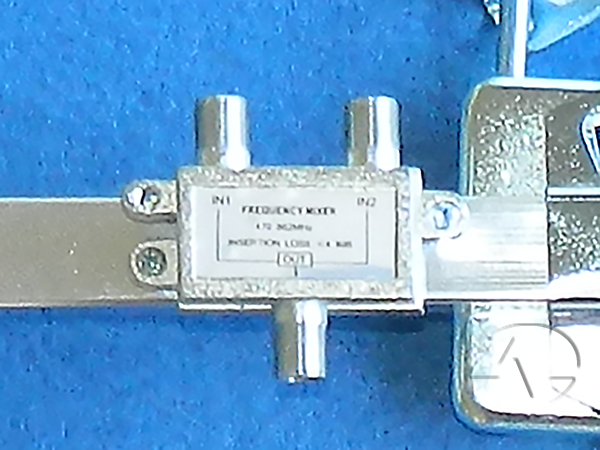
The arm with the combiner goes at the bottom of the antenna, and the combiner goes on the underside (so that when everything is assembled, it will be at the front.) Also, the wingnuts at the edges should point toward the bottom.
Take some time to make sure that everything is facing the same way, This will save you a lot of time later.
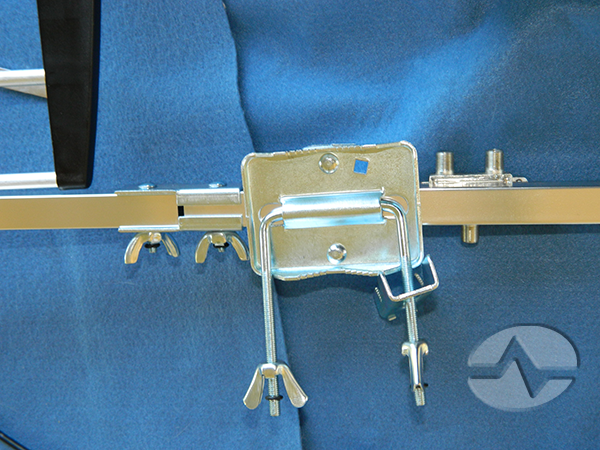
Assemble one side at a time. Start by removing the outer wingnut and loosening the one next to it. You should be able to loosen the outer clamps enough to clamp onto the antenna assembly then gently close the clamps around the antenna assembly.
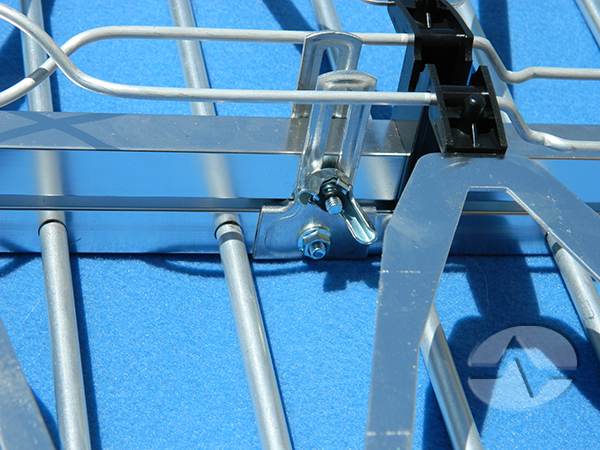
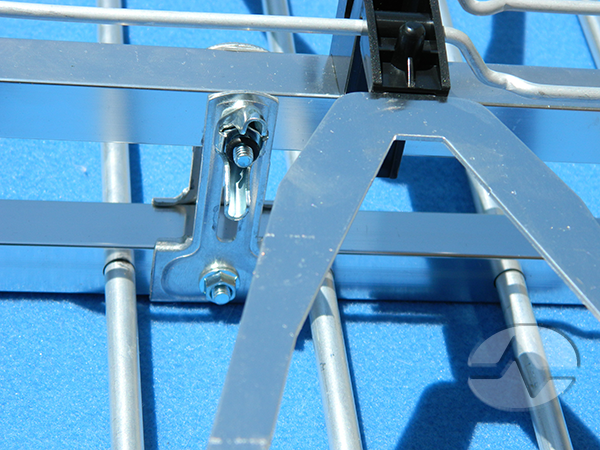
One arm attaches at the bottom, and one arm attaches at the center. It may take a little bit of work to get the bolt behind the black plastic box and through the clamp.
Both arms should attach to the antenna assembly as shown below. Once you have one side done, start on the other side. It may be helpful at this point to loose the hinges so that one assembly sits on a flat surface while you attach the arms to the other assembly. If you do that, tighten the hinges back up so that it’s easy to lift the antenna when you are done.
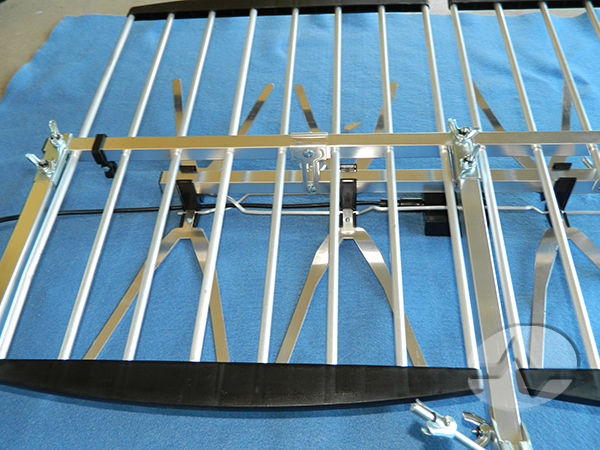
Final assembly
Turn the assembly right side up so you can see the cables and the combiner.
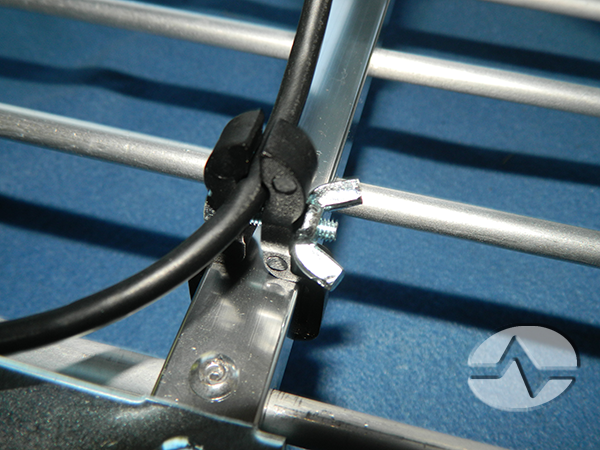
First, snake the cables through the criscrossing metal tubes and clamp each one down into the plastic cable clamp.
Then, connect the cables from each antenna assembly to the top of the combiner. At this point you may choose to connect your antenna cable, or you may wish to wait until the antenna is mounted on the roof. When you do attach the antenna cable, thread it through the waterproof boot and attach it to the bottom of the combiner.
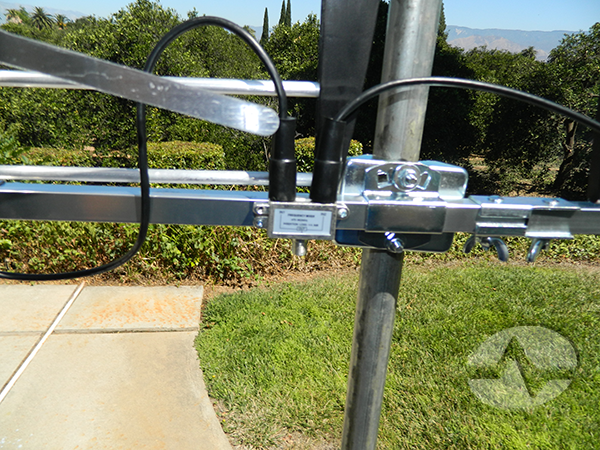
Mounting
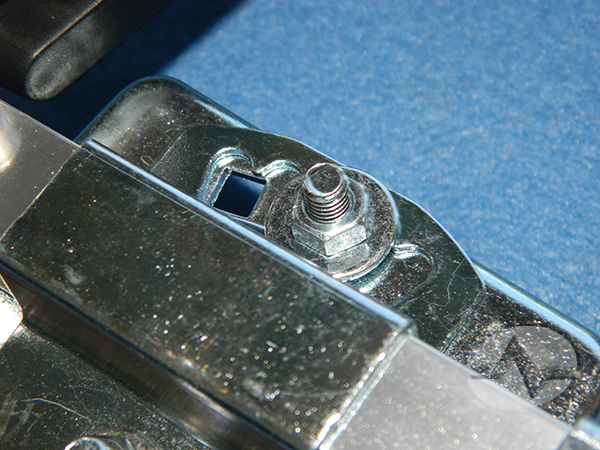
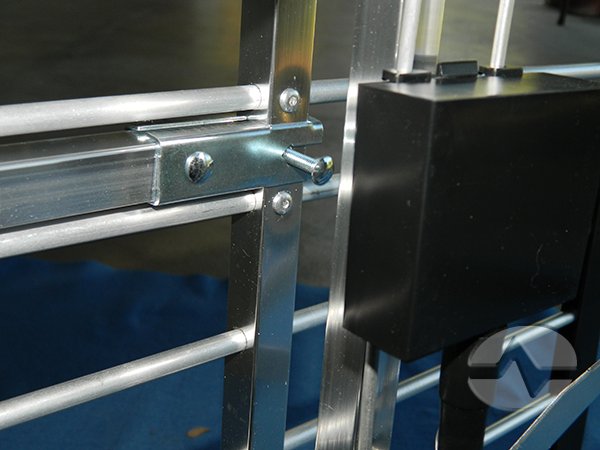
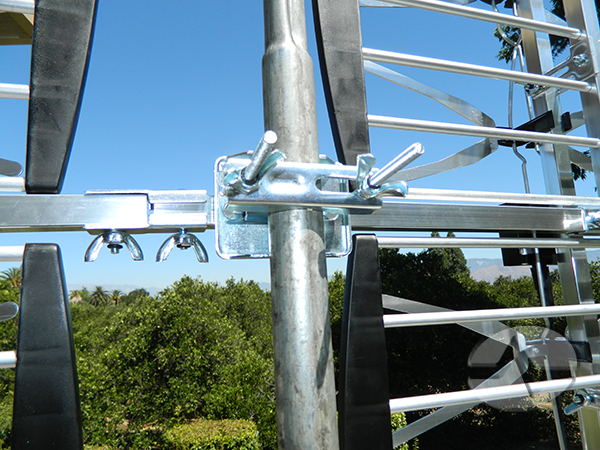
As you look at the antenna, you will see that the mounting point has an adjustment to help you keep the antenna pointed properly. In most cases this should not be used. Instead, level and plumb the mast properly.
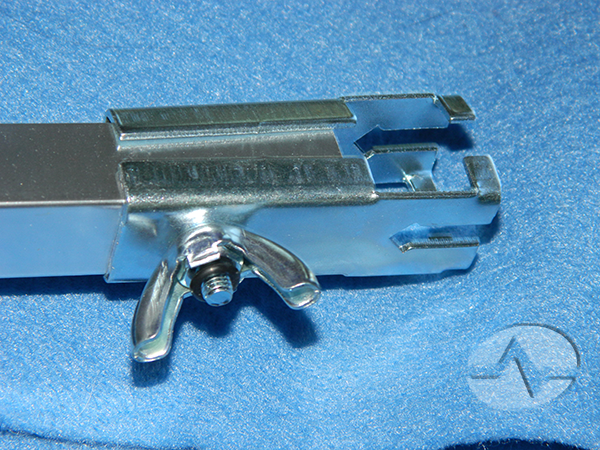
Mount the antenna on the mast by sliding it on so that the rear mounting clamps can bite into the mast. Tighten the wingnuts evenly. It might help to start with the top clamp, get it nice and snug before proceeding to the bottom clamp.
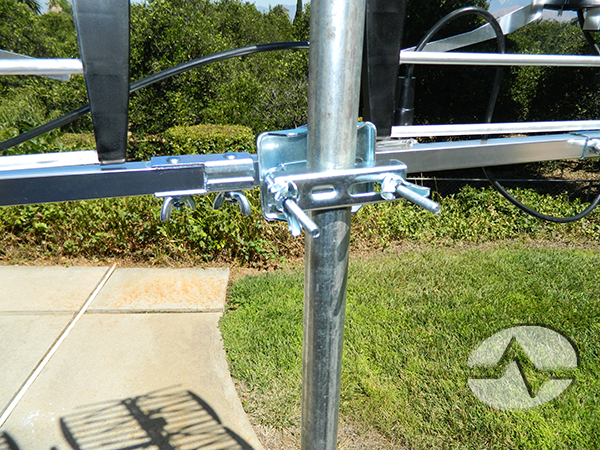
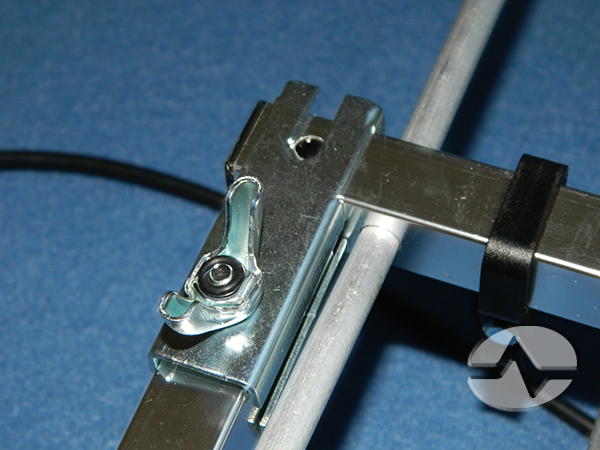
Once the clamps are tight enough to hold the antenna, you can aim the whole antenna by swiveling it on the mast.
You can also loosen the wingnuts at the hinges and point each half of the antenna separately. Remember to tighten the wingnuts when you are done.
Find a convenient location for a grounding block and attach the antenna cable to it. Run the cable from the grounding block into the house.
Finally, use your TV’s menu to scan for off-air channels.
Here’s a video from our Xtreme Signal team with even more installation tips!