This review is available in PDF format for your mobile device! Download it now!
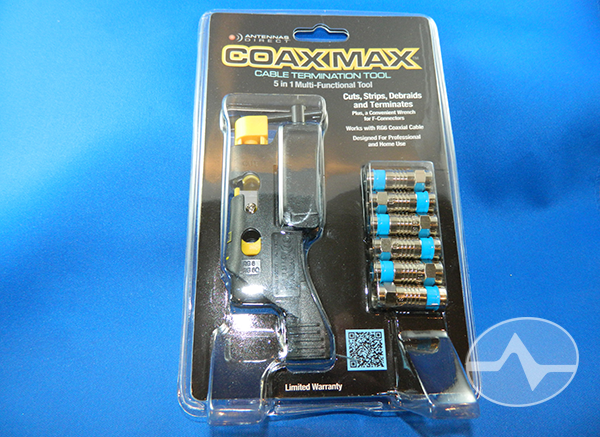
One tool from soup to nuts. And please, make it fit in a pocket. Not every job requires bringing around dozens of pounds of equipment and a massive toolbox. If you’re a hobbyist who likes to make an occasional cable, you’re bound to be pleased with Antennas Direct’s COAXMAX Cable Termination Kit. It gives you everything you’ll need to make your own cables inexpensively. It even comes with six ends to start, which will get you going with three cables. Additional COAXMAX ends are available at Solid Signal or any compression fittings can be used. This all in one tool will cut, strip, debraid, terminate, and even has a wrench that can be used on a finished cable. Let’s take a closer look.
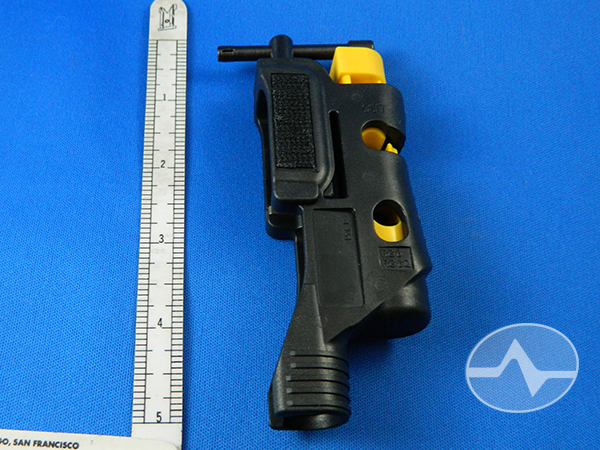
The tool is small, measuring about 5″ which makes it perfectly pocketable for those quick trips to the roof or basement. It’s made of durable high-impact plastic with the termination assembly made of sturdy metal.
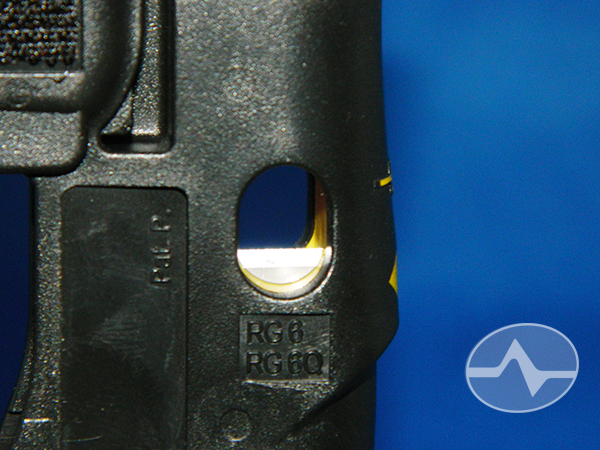
At top you see the termination screw, which is turned by hand to properly compress the fitting onto the cable. There is a spring-loaded assembly (shown in yellow) which opens up the stripper and cutter openings shown at right. A large piece of what looks like industrial Velcro helps debraid the cable as well. Finally the bottom of the tool is cleverly designed so it will slip over a cable so you can easily use it to loosen or tighten a 7/16″ fitting.
How to make cables
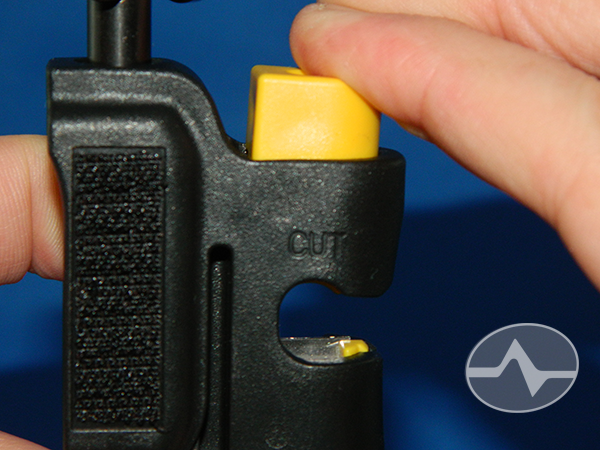
The tool itself comes with instructions and it’s simple to use but let’s go through the process. First, press down on the yellow button at top, which will expose the cutter and stripper assembly. The top hole is labeled “CUT.” Feed a length of cable into the cutter and let go of the yellow button.
Note: if the cable already has a connector on it, cut it off with pliers then cut about an inch more using the cutting tool.
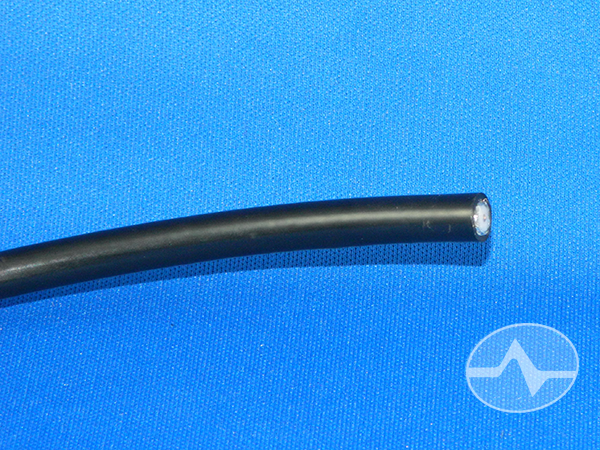
Spin the COAXMAX tool around until the end of the cable snaps off. This can take five or ten spins depending on the quality of the cable. The cut should be clean and the cable end should be perfectly round.
Stripping the cable
Press down on the yellow button again and slip the cut cable into the bottom hole. This will strip off the outer jacket and some of the dielectric (the inner white foam) making the cable ready for termination. The end of the cable should be just flush with the tool itself.
Spin the tool around 5-7 times until you hear and feel the braids are no longer cutting. Then remove the cable by pushing the yellow button. Do not try to pull the cable out with the blade on the cable as this may damage the inner foil and the dielectric foam.
Gently pull the waste from the end of the cable.
Debraiding
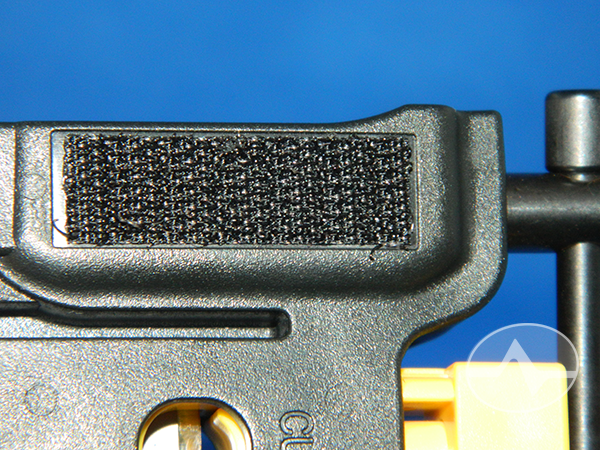
Antennas Direct recommends that especially if you are using their connectors, the cable be fully debraided. In other words, no little wires from the braid should be visible. If you prefer, you may fold the braid over the jacket (the black plastic) smoothly and evenly.
To debraid the cable, rub it briskly against the debraiding area several times until all the little wires come off. At this point, inspect the cable. All the braids should be removed or folded over the black jacket, and there should be no cuts in the foil. You should not be able to see white foam through the foil. The center conductor should be nice and straight.
Adding the connector
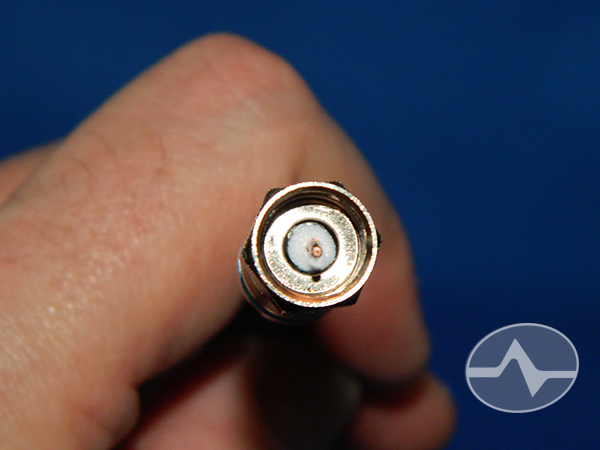
At this point the connector should slide smoothly over the prepared end. Don’t force it… if it stubbornly refuses to go, check to see that you put the cable in straight. Never use WD40 or heat the connector or cable to make sure they fit.
When you are finished, the dielectric foam should be perfectly flush with the inside of the connector and the center conductor should be straight, sticking out less than .25″ from the connector.
Terminating the end
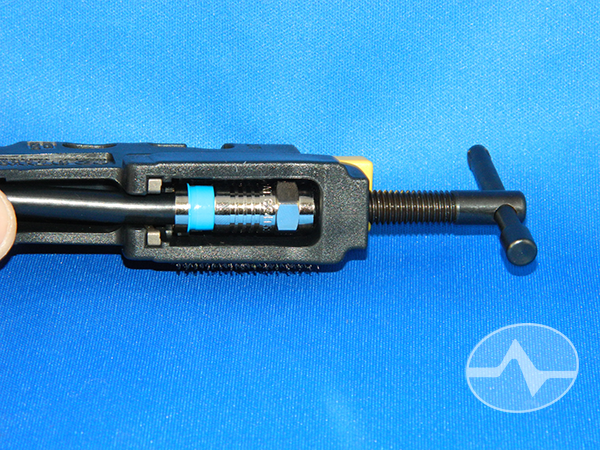
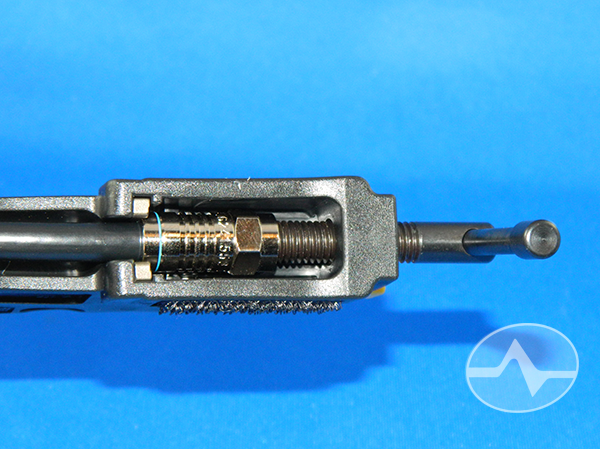
Slide the cable and connector into the tool as shown above. The end of the connector should come all the way up to the end of the tool, and the center conductor should fit into the hole in the tool.
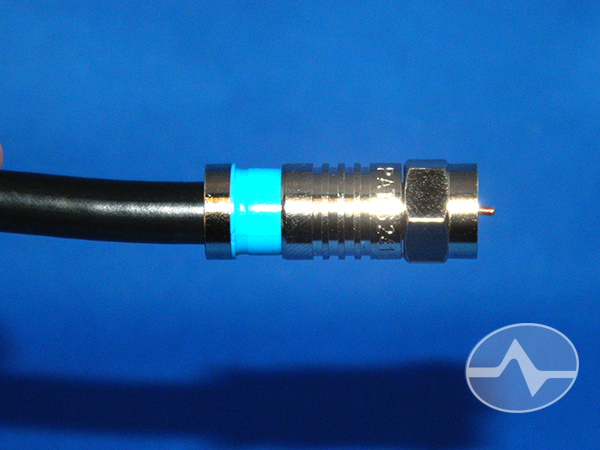
Twist the screw until the connector shows only the thinnest possible blue ring at the bottom (if you are using COAXMAX connectors) or until you feel a natural stopping point. Do not try to overcompress the connector.
Testing
If you are uncomfortable making cables you will want to inspect the cable carefully to make sure there are no loose braids in the connector, that the dielectric did not shift when you were installing the connector, and that the center conductor does not come out more than .25″ beyond the finished connector.
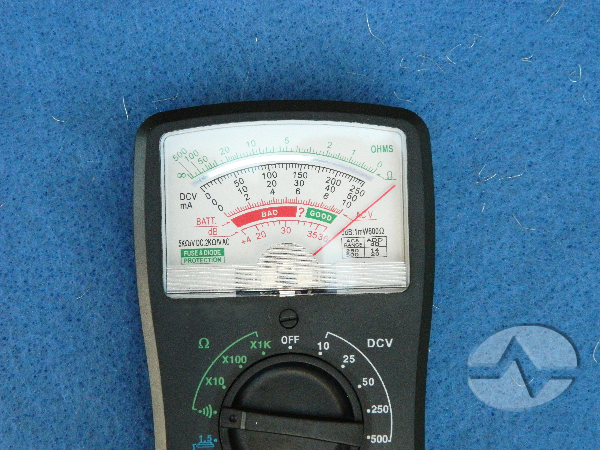
It’s also a good idea to test your cable with a multimeter if you have one. Set it to the resistance (Ω) setting so that it will beep when a connection is made. Make sure that the meter beeps when touching both conductors and when touching both outer connectors, but not when touching either conductor to either connector.