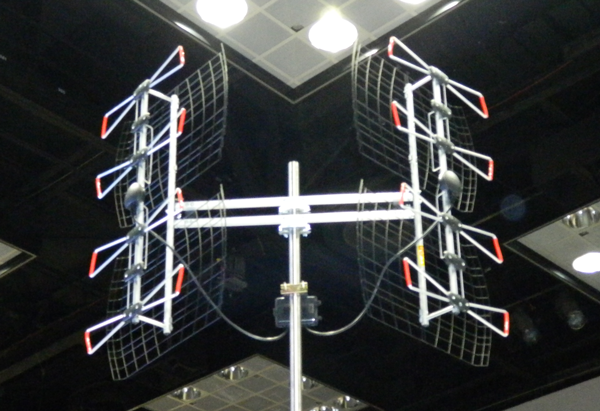
We’ve been raving about this antenna for about a year now, ever since we saw it at the CEDIA show. It’s the antenna of choice if you’re between markets but it hasn’t been available until now. Antennas Direct sent us a DB8e to test and we’re giving you the entire assembly and test experience. You won’t find a better review on the internet!
Before you start, we recommend that you get a good idea where you will mount the antenna and where you will aim it. It just saves a lot of time later.
Unboxing
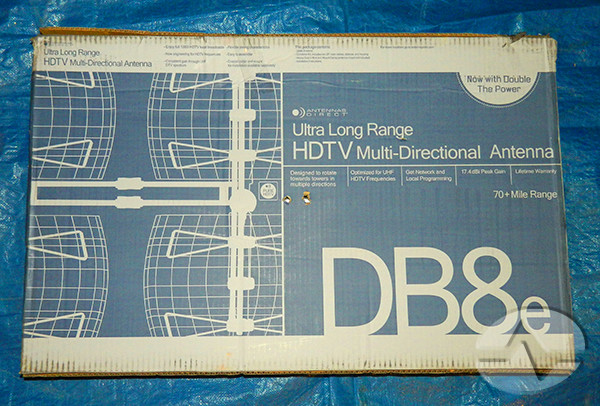
Antennas Direct always has great packaging. Their smaller antennas are in solid retail boxes with full color printing. This one isn’t as likely to be an impulse buy but it was still packaged in a nice sturdy box with an image of the antenna and a bunch of marketing text on it.

We chose to do all the assembly in the warehouse of our West Coast operations center, to avoid losing tiny parts outside. It makes the photos look a little grungy but on the other hand it worked… we didn’t lose anything.
What you get in the box is one big hunk of metal rods and one bag of tiny parts. The big package is put together with zip ties. It’s ok to cut these. Open the bag carefully and you’ll find instructions and several more bags containing all the different bits and pieces.
Warning: This is a fairly easy install but if you’re not comfortable with tools you may want some help. It’s possible to do it with one person but two might be better.
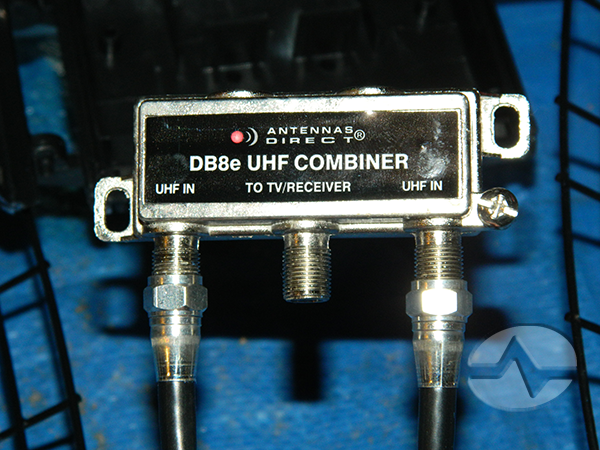
Here’s what you get
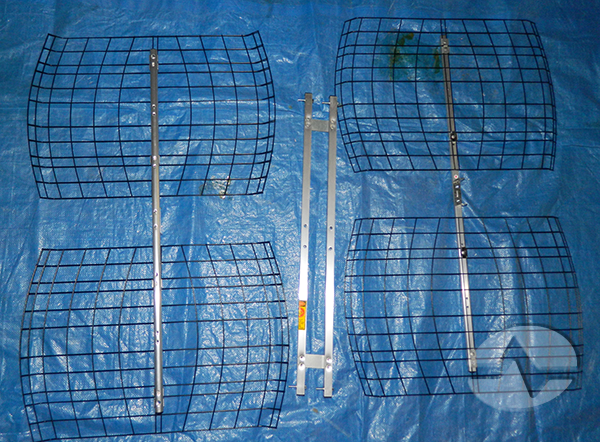
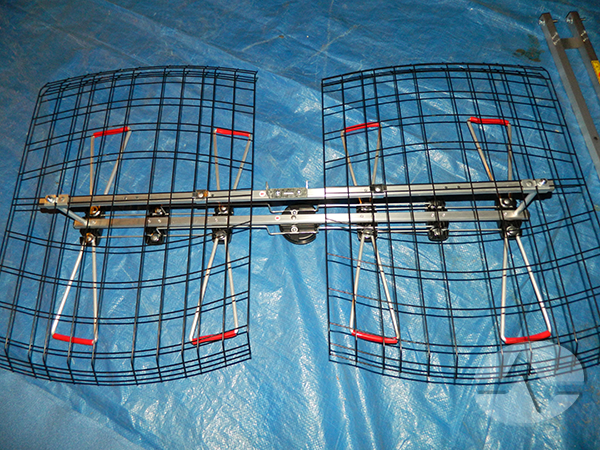
Two reflector assemblies and a crossbar.

Two bowtie assemblies. The white things are cardboard shipping inserts held on by rubber bands. You can discard them.
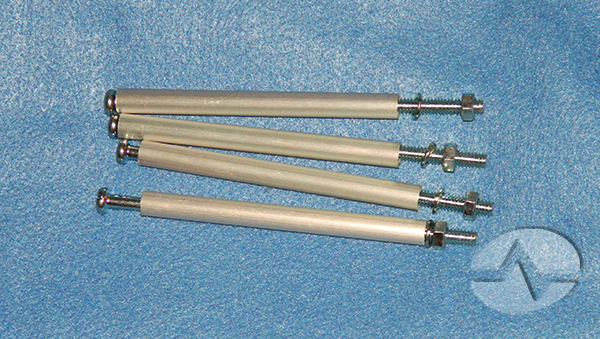
Four mounting posts. Each has a metal sleeve and a nut. These are used for attaching the bowties to the reflectors.

The customized combiner assembly in a weatherproof enclosure.
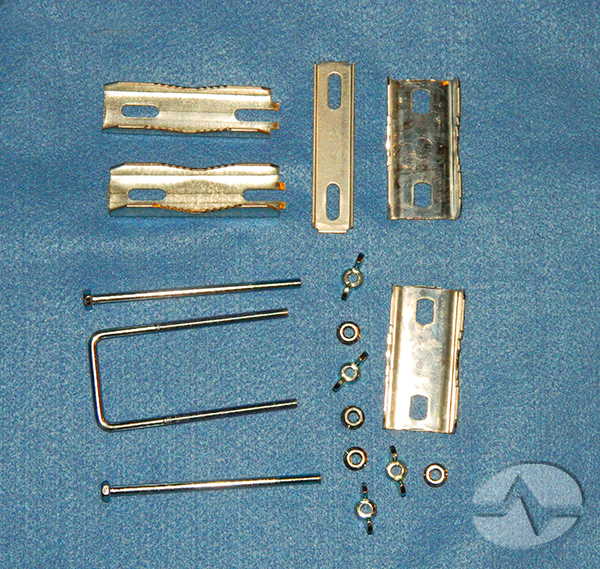
A bunch of parts for mounting the antenna to the mast.
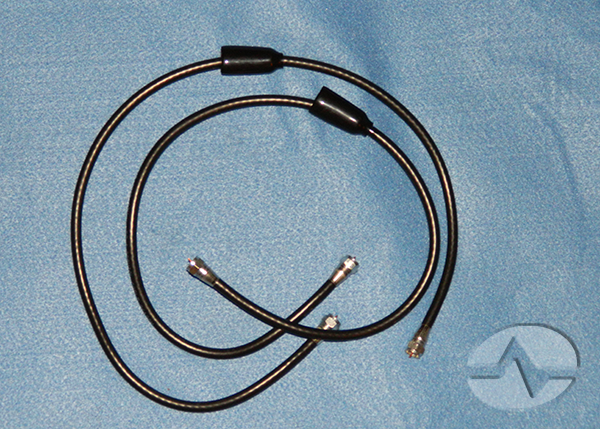
Two custom length cables each with a weather boot.
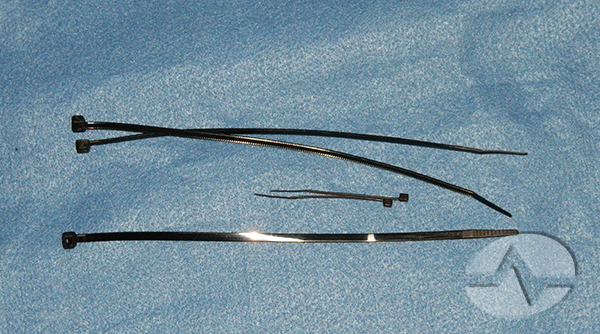
Five zip ties. These are just your garden variety ties and if you break or lose one, use one you already have.
You should also have the following tools:
- Cable cutters (aka dykes or nips) for cutting zip ties
- 10mm open end wrench for general assembly
- #2 (medium size) Philips screwdriver
- 7/16″ open end wrench for attaching cables
A word of warning: Antennas are made of aluminum which is a very soft metal. Be careful not to overtighten any connections.
Assembling the antenna panels
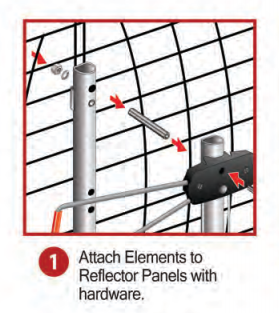
The first thing you will want to note is that the bowties and reflectors have red arrow stickers on the back. They should both point in the same direction when you assemble the antenna panels.

Take a bowtie assembly and make sure the logo is facing up. Then take a mounting post, undo the bolt and remove the sleeve. The bolts pass through holes at the top and bottom of the bowtie. Then thread a sleeve over the bolt and place the reflector so the bent up ends are facing the bowtie. Put the bolt through the reflector and then attach a washer and a nut. Finger tighten it, then do the other side. Here’s a screen capture from the manual that shows it:
Now gently tighten the nut up top with the 10mm wrench. Remember this is aluminum and will deform easily. The easiest way to do this with one person was to balance the antenna on a screwdriver to keep the bolt from moving and tighten the nut from above.
Attach both bowties to the reflectors and you’ll be ready to mount the combiner to the crossbar.
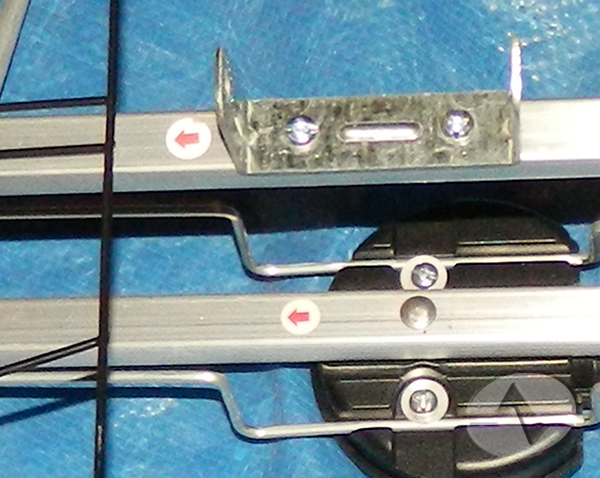
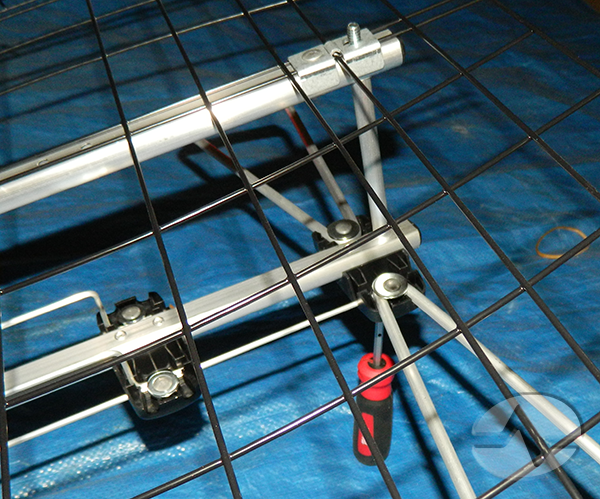
Mounting the mast clamps and the combiner

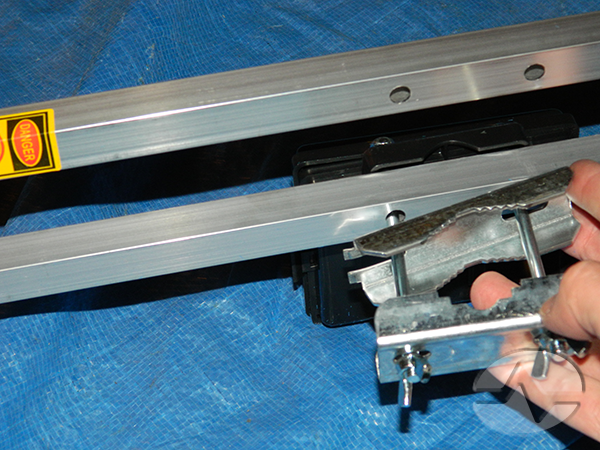
Start with the metal crossbrace. Lay it face up so that, as you see in the picture, the metal spacer is on top and the screws are pointing up.
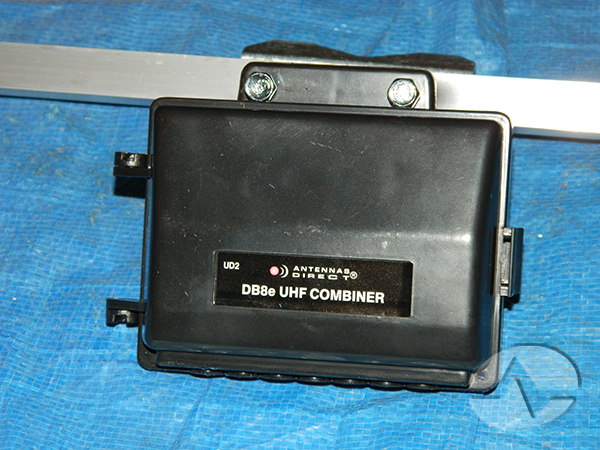
The combiner assembly attaches to the brace with two long metal bolts.
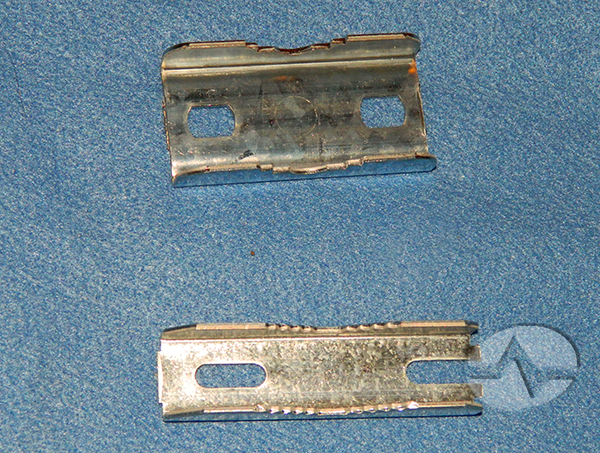
If you look at the mounting hardware you will find there are two different kinds of clamps. You will need one of each. Slide them onto the bolts behind the crossbrace so that the teeth are facing each other and secure with wingnuts.
Here’s a look at the whole thing from the back.
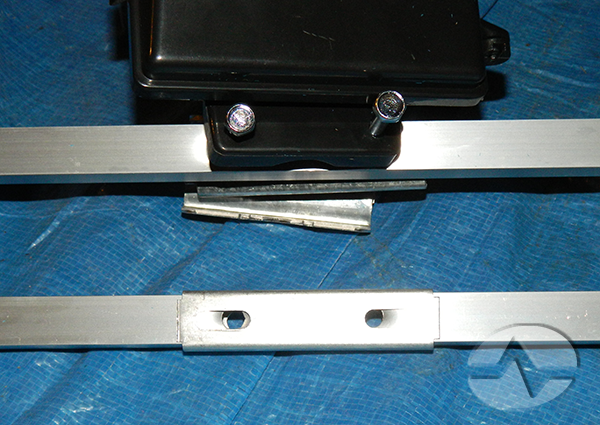
Now take the small metal bar and lay it over the crossbrace. Feed the U-shaped bar through, and attach the other pair of clamps with the other wingnuts.
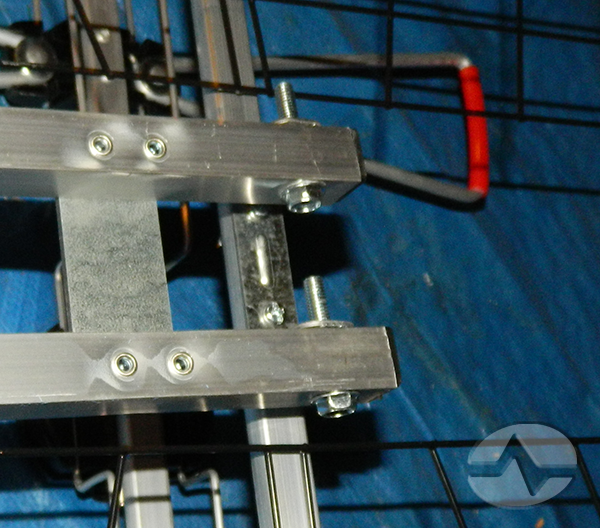
Unless you are attaching the crossbrace to the mast right now, this whole assembly is going to sit loose. When you are ready to attach it to a mast, tighten it all up so the clamps bite slightly into the mast.
Final assembly
Take each antenna assembly and slide it onto the bolts on the ends of the crossbar. Hand-tighten the antennas onto the crossbar. These antennas will rotate on the bolts and when the antenna is in final position you will tighten these more securely.
Use the short cables to attach each antenna to the combiner. The combiner housing opens from the side and the combiner lifts out. Use the 7/16″ wrench CAREFULLY to overcome any tension while connecting but do not overtighten. Put the combiner back in the housing and close it securely.

The installation guide gives suggestions on securing the cables with zip ties. DO NOT OVERTIGHTEN these or you risk damaging the antenna. It is just fine to leave a little play in the ties. The trick here is that the cables have to go through the reflectors or you won’t be able to pivot the antennas.

When the antenna is all assembled, it’s ready for mast mounting and aiming!